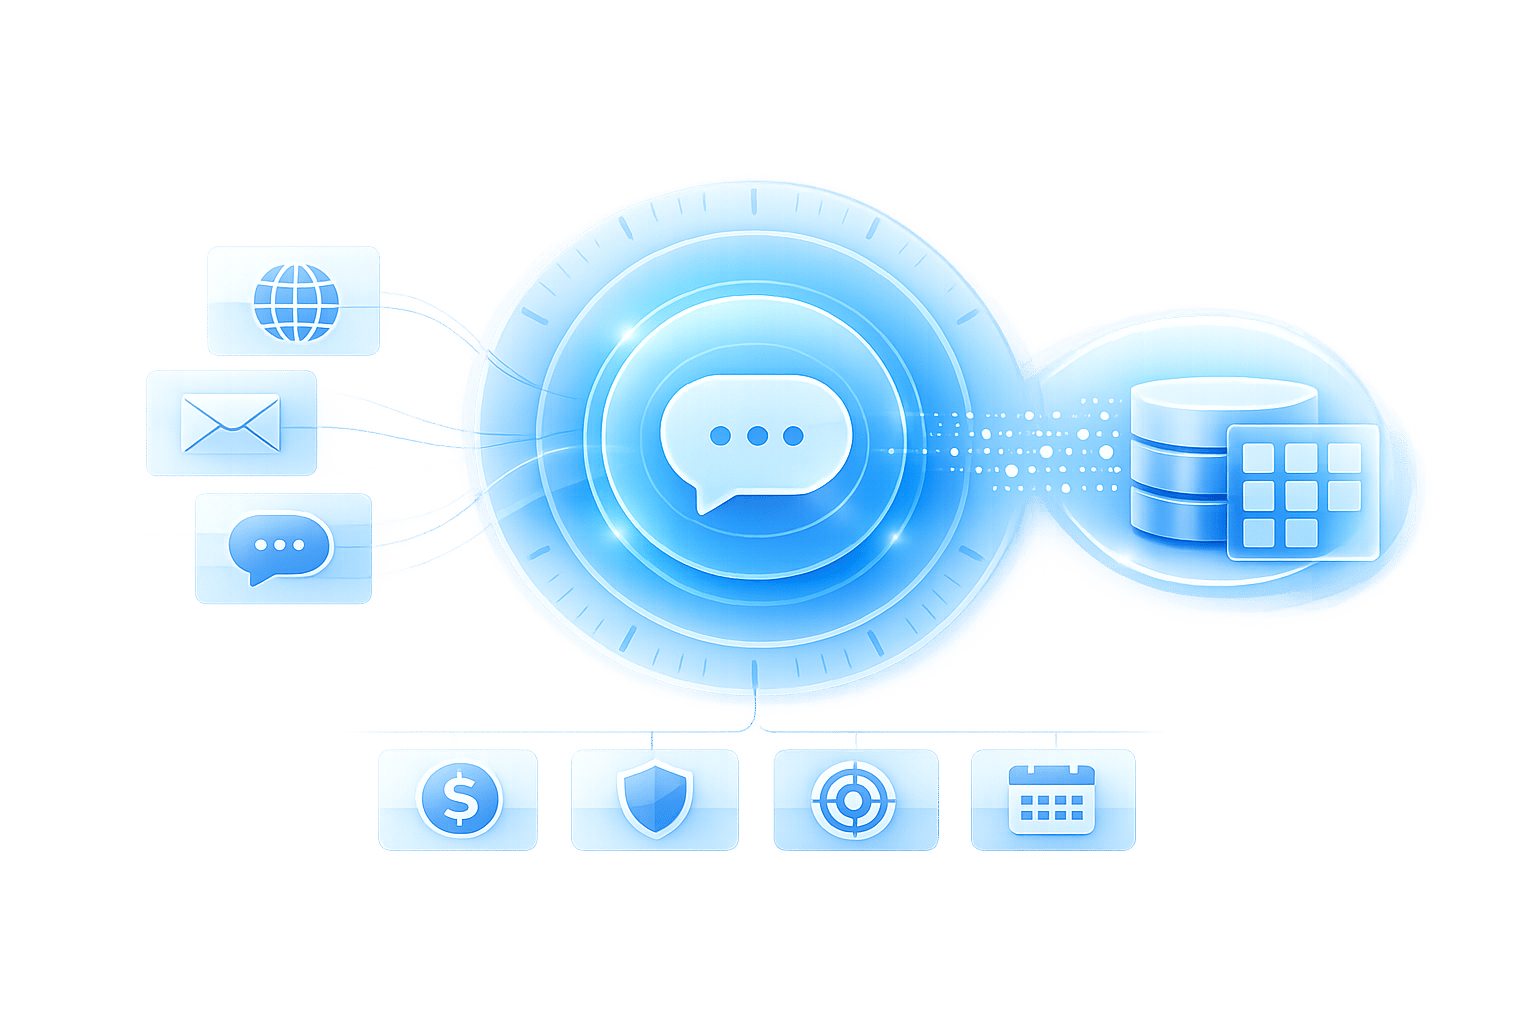
Want to offer 24/7 customer support and boost conversions on your website? AI chatbots can help. These tools provide instant answers, cut customer service costs by up to 30%, and guide users toward purchases. Here’s how they work and how to get started:
- Why Use AI Chatbots? They handle repetitive queries, save time, and address customer concerns like pricing or shipping instantly.
- How They Work: Powered by Natural Language Processing (NLP), they understand user intent, handle complex tasks, and improve over time.
- Key Benefits: Reduce support tickets, increase checkout completions, and qualify leads - while saving money.
- Getting Started: Define your goals, organize your content (FAQs, policies, etc.), and choose a chatbot plan that fits your business needs.
- Plans: Start with the Basic plan ($19/month) or scale up to Pro ($129/month) for advanced features like CRM integrations and analytics.
- Set Up: Embed the chatbot on your site with a simple script, customize its tone, and connect it to tools like HubSpot or Shopify.
AI chatbots are no longer just for big companies - they're affordable and easy to implement for small businesses too.
What Makes an AI Chatbot Conversion-Focused
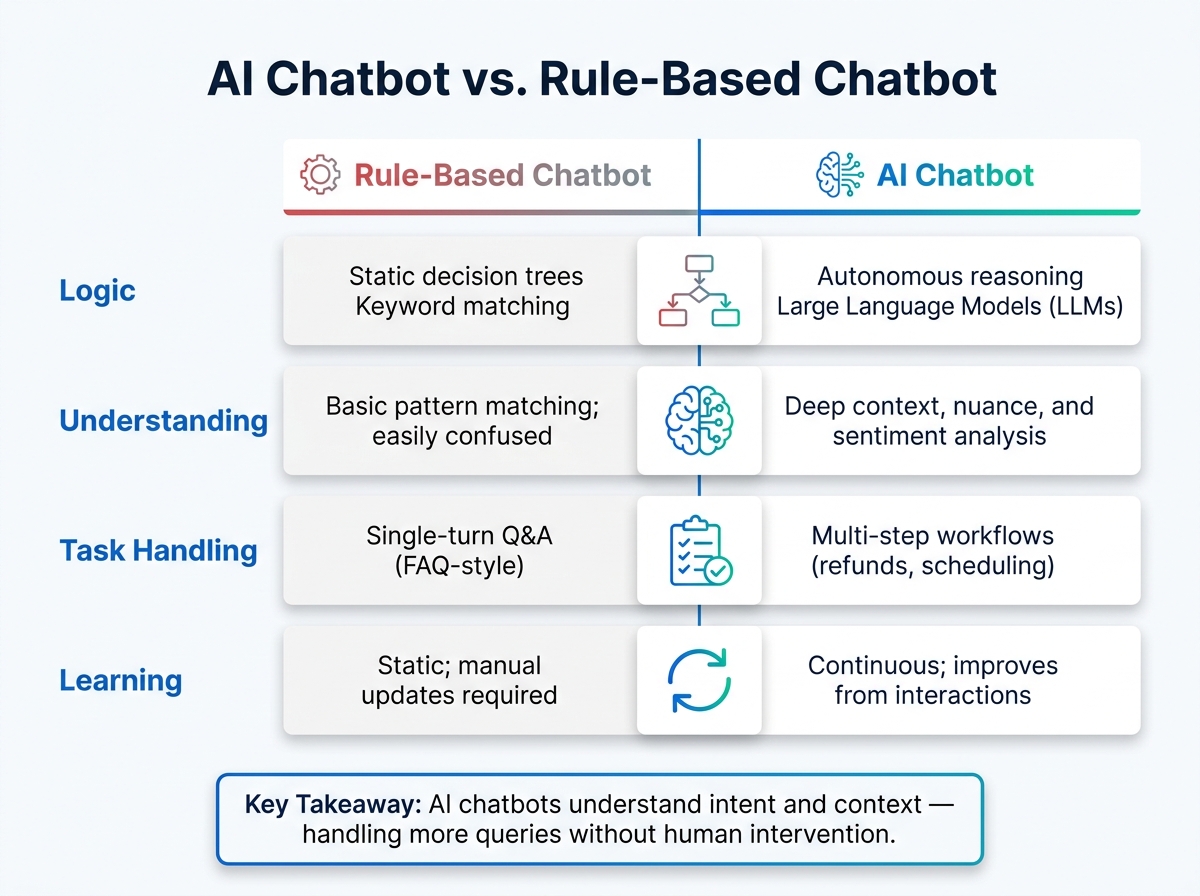
AI Chatbot vs Rule-Based Chatbot: Key Differences Explained
Chatbot design plays a critical role in determining whether it helps drive revenue or leaves visitors feeling frustrated.
How AI Chatbots Work
AI chatbots rely on Natural Language Processing (NLP) to interpret user input and respond appropriately. Unlike traditional bots that stick to rigid decision trees and keyword matching (and fail when phrasing changes), AI-powered bots understand intent and context, making them capable of handling a broader range of questions.
| Feature | Rule-Based Chatbot | AI Chatbot |
|---|---|---|
| Logic | Static decision trees / Keyword matching | Autonomous reasoning / Large Language Models (LLMs) |
| Understanding | Basic pattern matching; easily confused | Deep context, nuance, and sentiment analysis |
| Task Handling | Single-turn Q&A (FAQ-style) | Multi-step workflows (refunds, scheduling) |
| Learning | Static; manual updates required | Continuous; improves from interactions |
AI chatbots go beyond surface-level responses. They engage users in meaningful conversations, guiding them toward decisions rather than simply answering isolated questions. With this understanding of how AI chatbots function, businesses can set specific goals to leverage their full potential.
Setting Chatbot Goals That Tie to Business Metrics
To make the most of an AI chatbot, it’s essential to define clear goals that align with measurable business metrics. For example:
- Reducing support tickets: Resolve common questions before they reach your support team.
- Capturing leads: Collect names and emails by offering quotes, free trials, or personalized recommendations.
- Increasing checkout completions: Address last-minute concerns during the purchase process.
Each goal should directly connect to a specific outcome, making it easier to measure performance and calculate ROI. Once these goals are in place, integrate the chatbot across every stage of the customer journey to maintain consistent engagement.
How Chatbots Support the Full Customer Journey
An effective AI chatbot provides value throughout the entire customer experience. It can handle pre-purchase inquiries about products, resolve checkout concerns, and assist with order tracking or troubleshooting after the sale.
This functionality depends on three key elements: intents, entities, and context.
- Intent: What the user wants to accomplish (e.g., "track my order").
- Entity: Specific details involved in the request (e.g., an order number).
- Context: Information retained from earlier in the conversation.
How to Plan Your ChatSpark Implementation
Getting the most out of ChatSpark starts with solid planning. The businesses that see the best results are those that pinpoint where the chatbot can make the biggest difference, organize their content effectively, and choose a plan that fits their needs.
Identifying High-Impact Use Cases
Instead of asking, "What can the chatbot do?" focus on, "Where are we losing customers right now?" Analytics can help you find these problem areas. For example, high exit rates on pages like pricing, shipping, or returns are strong indicators of where a chatbot could step in and make a difference.
Here are three use cases that often deliver strong results:
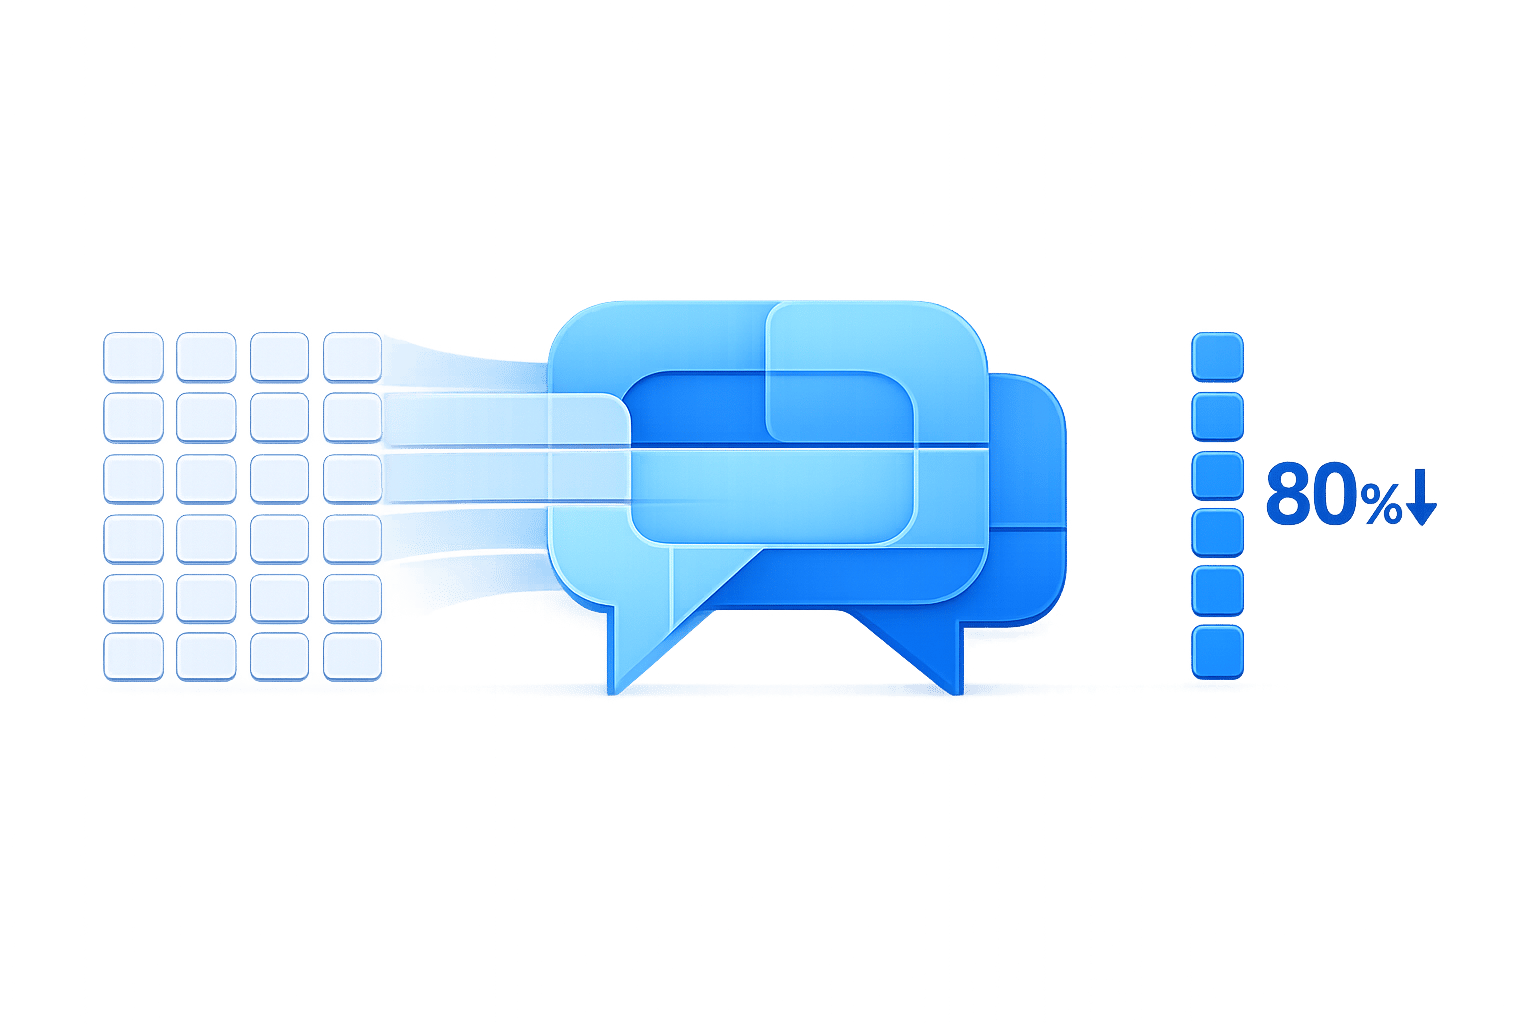
- FAQ Automation: Chatbots can handle routine questions about topics like shipping times, return windows, or pricing tiers. According to Help Scout, businesses with a well-organized self-service knowledge base often see a 20–30% drop in support tickets.
- Lead Qualification: By asking a few targeted questions - such as budget, company size, or timeline - a chatbot can score and route leads effectively. A study by Harvard Business Review revealed that companies responding to leads within an hour were nearly 7x more likely to engage decision-makers compared to slower responders. A chatbot, available 24/7, ensures no lead goes unattended.
- Checkout Support: Chatbots can send proactive messages when users linger on cart or shipping pages. With cart abandonment rates averaging 70% (Baymard Institute), even small improvements in recovery rates can significantly impact revenue.
For each use case, define clear, measurable goals. Once you've identified these opportunities, focus on organizing your content to train ChatSpark effectively.
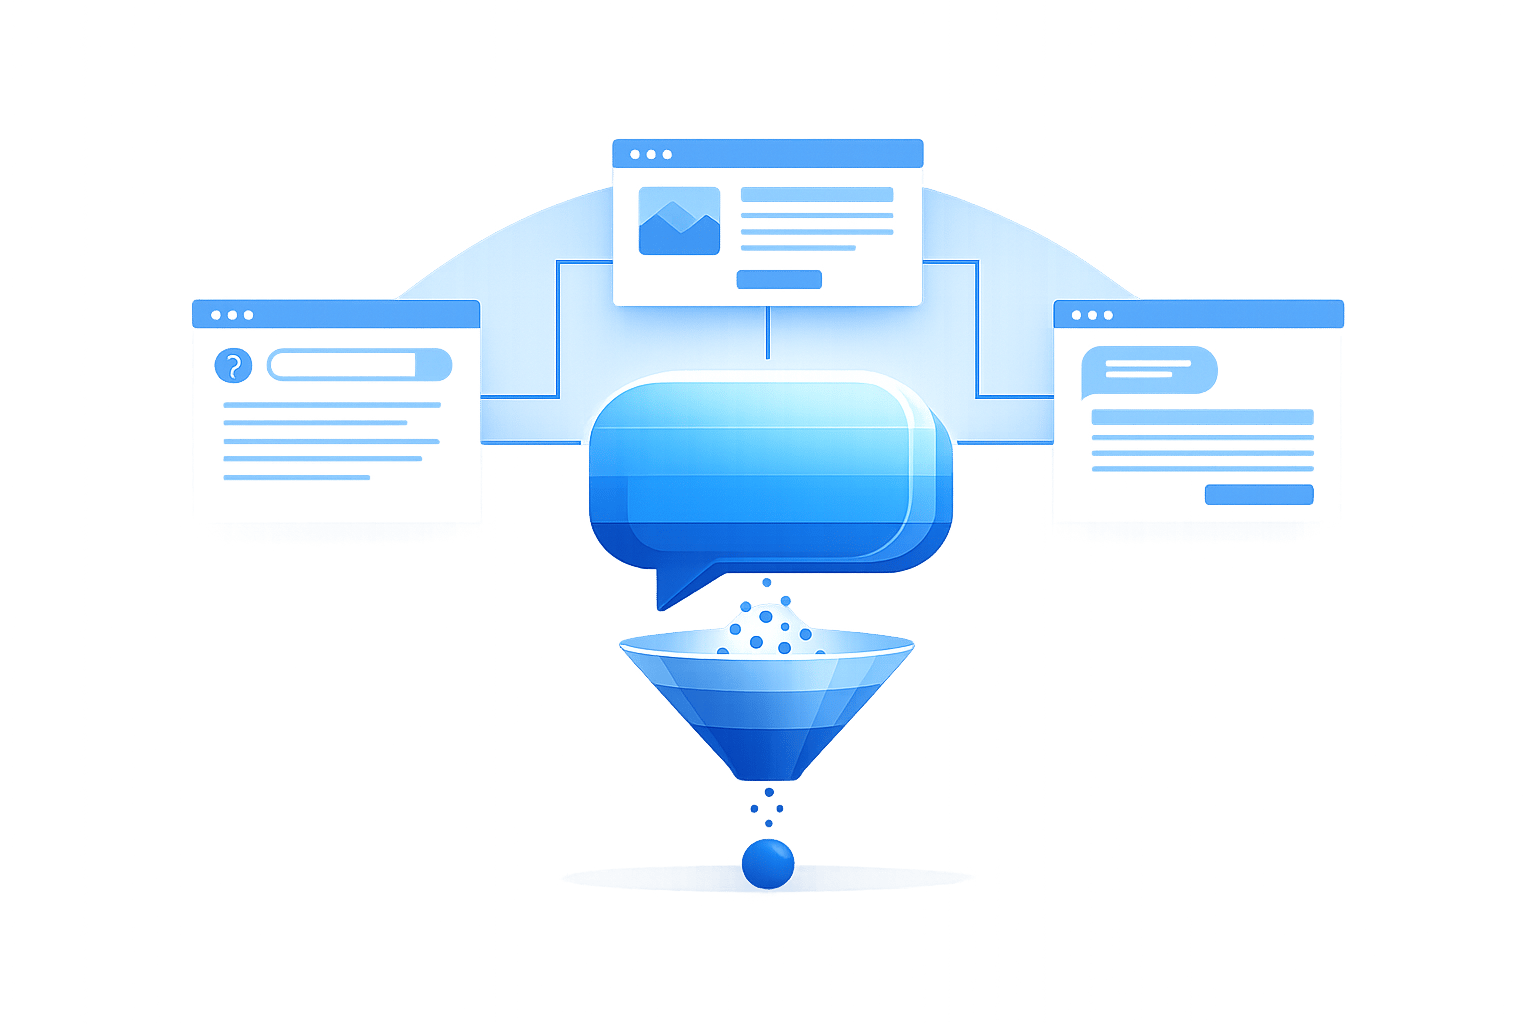
Organizing Your Content and Data Sources
The quality of your chatbot's responses depends on the content you feed it. Start by reviewing your existing resources: FAQ pages, help center articles, product guides, pricing details, shipping and return policies, and internal support workflows.
Common pre-launch issues include outdated information, inconsistent pricing, and unclear escalation paths. Address these problems first. If the chatbot can't provide a confident answer, it should fall back on a safe response like, "I'm not sure, let me connect you with someone", or escalate directly to a human agent.
Structure your content into short, focused entries rather than long, multi-topic pages. For example, a return policy should have separate entries for questions like "How long do I have to return an item?", "What items are non-refundable?", and "How do I start a return?" This modular approach not only improves clarity but also helps you stay within ChatSpark's training limits - each "page" is capped at 750 words. Use the dashboard preview to test edge cases and refine your content before going live.
Choosing the Right ChatSpark Plan
After organizing your content, pick a ChatSpark plan that matches your business size and messaging needs. Consider factors like monthly message volume, training data capacity, and the integrations or channels you require. To estimate your message volume, multiply your daily website visitors by an expected engagement rate of around 20%.
| Plan | Monthly Price | Messages/Month | Training Pages | Best For |
|---|---|---|---|---|
| Basic | $19 | 100 | 25 | Solo entrepreneurs, simple FAQ support |
| Plus | $59 | 250 | 50 | Growing businesses, basic lead capture |
| Pro | $129 | 2,000 | 500 | Established sites needing integrations |
| Enterprise | Custom | Custom | Custom | High-volume operations with custom workflows |
For small businesses in the U.S., the Basic plan at $19/month is an affordable way to get started, especially with the 14-day free trial. If the chatbot generates just one $200 sale in a month, the plan pays for itself more than tenfold. The Pro plan at $129/month becomes a smart choice when you need advanced features like CRM integrations (HubSpot or Salesforce), AI Actions for tasks like booking appointments or checking Shopify orders, or an unbranded widget. For businesses anticipating seasonal traffic spikes - like during the holidays - ensure your plan can handle the increased volume without compromising response quality. Opting for annual billing can save you 14%, effectively giving you two months free.
How to Set Up ChatSpark on Your Website
Getting ChatSpark up and running is a straightforward process involving three key steps: creating your agent, designing user-friendly flows, and embedding the widget on your site.
Setting Up Your ChatSpark Agent
Start by creating a workspace in your ChatSpark dashboard. Give it a name that reflects your business and set the language to English (United States). This ensures proper formatting for U.S. date, time, and currency standards.
Next, build your knowledge base. You can do this by importing content directly from your website URLs or uploading files like PDFs, DOCX documents, or CSVs. For example, upload pricing tables in USD, shipping policies, return guidelines, or warranty terms. Organize this information into labeled collections such as "Pricing & Plans", "Shipping & Returns", or "Product Specs." These collections make it easier to control what your chatbot references during conversations.
After setting up your knowledge base, define 10–20 key intents that align with your business goals. Examples include Ask-pricing, Book-demo, Check-order-status, and Refund-policy. For each intent, craft a response that provides clear information and a next step. For instance: "Our Pro plan starts at $129/month. Would you like to schedule a 15-minute walkthrough, or should I send a comparison chart to your email?" Always prepare a fallback response for questions the bot can't answer, such as: "I’m not sure about that - let me connect you with someone who can help."
"The resolution rate difference... is entirely driven by knowledge base quality and retrieval precision. Spend more time on your knowledge base than on your UI." - John V. Akgul, Founder & CEO, PxlPeak [2]
Once your agent is live and your intents are set, you’re ready to design flows that drive results.
Building Chatbot Flows That Drive Conversions
Effective chatbot flows guide visitors toward taking specific actions while answering their questions. Start with a proactive welcome message that appears after 5–10 seconds on desktop. Tailor this message to match the page’s context. For instance, on a pricing page, try: "Have questions about costs or plans? I can help you compare options."
Follow up the greeting with 2–4 quick-reply buttons tied to your goals, such as "Get Pricing", "Schedule a Demo", "Track an Order", or "Ask a Question." Each button should trigger a flow designed to achieve a specific outcome. For example, if someone requests a demo, collect their name, company, and timeline, then share a Calendly link for easy scheduling. For pricing inquiries, ask qualifying questions like team size or budget range, then recommend a plan and capture their email for follow-up.
If a visitor types something outside the predefined flows, the bot should detect their intent and guide them to the closest relevant option. Always include a "Talk to a human" button as a backup. For high-intent users on checkout or cart pages, integrate ChatSpark with Square to let them make payments or deposits directly within the chat.
Embedding and Customizing the ChatSpark Widget
Once your flows are ready, the final step is embedding ChatSpark on your website.
Copy the JavaScript snippet from your ChatSpark dashboard and paste it before the closing </body> tag. For Shopify, add it to the theme.liquid file; for Wix, use the "Custom Code" settings and select "Body – end"; and for Squarespace, use the Code Injection feature in the Footer section.
The snippet includes a data-chatbot-id attribute that links the widget to your agent. You can also use additional attributes to customize the widget’s behavior:
| Attribute | Function |
|---|---|
data-is-open="true" |
Automatically opens the chat when the page loads |
data-full-screen="true" |
Displays the widget as a full-screen interface, ideal for mobile users |
data-render="#container" |
Embeds the widget inside a specific page element instead of using the default floating bubble |
data-ga-id |
Connects to Google Analytics 4 for tracking chat interactions |
By default, the widget appears in the bottom-right corner, which is standard for U.S. websites. You can adjust the color using a hex code, upload your logo or avatar, and customize the agent’s name to align with your branding. For pages where a floating bubble doesn’t work, add the class cs-trigger-agent to any button or link to open the chat when clicked. Alternatively, use the data-trigger attribute (e.g., data-trigger="I need help with pricing") to pre-fill the chat with context.
Finally, set your business hours so the widget reflects accurate response times. For example, you could promise live agent support from 9 a.m. to 5 p.m. local time and switch to an automated message after hours. Include a brief privacy note during lead capture, such as: "By submitting, you agree we may contact you about our services. You can opt out at any time." This aligns with standard expectations for transparency in the U.S. market.
How to Optimize ChatSpark for Better Results
Once your chatbot is up and running, it’s time to refine its communication style, evaluate its performance, and connect it with essential business tools. Using analytics, you can identify areas for improvement and make targeted updates.
Setting the Right Chatbot Tone for U.S. Audiences
When catering to American users, aim for a tone that feels helpful and direct - neither too robotic nor overly casual. In ChatSpark's Agent Personality field, treat it like briefing a new employee. Clearly define the agent's role (e.g., "proactive sales representative"), its tone ("professional yet approachable"), and any boundaries ("avoid discussing competitors") [1]. This ensures consistency across interactions.
Keep responses short and to the point - 1 to 3 sentences is ideal. Adjust your chatbot’s tone to match the user’s style: casual language for informal queries and a more formal tone for professional ones [4]. Choose a name for your agent that aligns with your branding. Something like "Alex" feels approachable, while "Support Bot" emphasizes transparency about its AI nature. Either choice works, depending on your strategy [1].
Two critical settings to fine-tune are confidence thresholds and fallback responses. Configure your chatbot to escalate or ask clarifying questions when its confidence drops below 0.6 [4]. Customize the fallback message to keep users engaged. For example, "I'm not sure about that - would you like me to connect you with our team?" helps avoid dead ends and keeps the conversation moving forward [1].
Once you've fine-tuned the tone, use performance metrics to measure success and identify areas for adjustment.
Using Analytics to Improve Chatbot Performance
The ChatSpark analytics dashboard provides insights into how well your chatbot is performing. Key metrics like resolution rate and lead capture rate reveal whether your bot is effectively addressing user needs and driving results.
If you notice recurring issues with unanswered or poorly handled questions, update your knowledge base to fill those gaps. To track improvements, build a golden dataset of 100–200 verified customer inquiries. After each knowledge base update, test the dataset to check if accuracy has improved or declined. This creates a reliable, repeatable process for optimizing your chatbot over time.
Connecting ChatSpark to your business tools can further enhance its efficiency and effectiveness.
Connecting ChatSpark to Your Business Tools
With a refined tone and clear performance metrics, integrating ChatSpark with your core business tools can streamline operations. ChatSpark supports over 5,000 apps via Zapier [3], enabling seamless workflows. For example, leads collected during chats can automatically populate in HubSpot or Salesforce, while support conversations can generate tickets in Zendesk or Freshdesk.
On the Pro plan ($129/month), AI Actions allow customers to complete real-time tasks directly within the chat. Users can check a Shopify order status, schedule a Calendly appointment, or view Stripe payment updates without leaving the conversation [3]. For businesses requiring live handoffs, integrations with platforms like Freshchat and Intercom ensure smooth transitions from chatbot to human support.
| Category | Supported Platforms | Common AI Actions |
|---|---|---|
| E-commerce | Shopify, WooCommerce, BigCommerce | Order status, tracking, inventory lookup |
| Support | Zendesk, Freshdesk, HappyFox | Create tickets, search KB, live handoff |
| Booking | Calendly, Google Calendar, Square | Appointment scheduling, rescheduling |
| CRM | Salesforce, HubSpot | Create contacts, update leads, record deals |
| Payments | Stripe, PayPal | Check payment status, refund status |
All API credentials used for these integrations are protected with AES-256 encryption, meeting the security standards expected by U.S. businesses handling customer data [3].
How to Measure ROI from Automated Customer Support
After setting up an automated customer support system, it’s essential to showcase its value - both in dollars saved and time gained. Fortunately, measuring ROI doesn’t require complex tools or spreadsheets. By focusing on a few key metrics and using a straightforward formula, you can clearly demonstrate its impact.
Key Metrics to Track
There are four critical numbers that help paint the full picture:
- AI Resolution Rate: This shows the percentage of conversations the chatbot resolves without human help. A solid implementation typically achieves rates between 70% and 85% [6][10].
- Ticket Deflection: This metric tracks how many inquiries the bot resolves that would otherwise require a human agent [5][9].
- Total Time Saved: Compare the time it takes for the AI to resolve an issue (about 2 minutes per conversation) with the average human resolution time (around 12 minutes) [6].
- Knowledge Coverage: This measures the percentage of questions your bot can confidently answer. Ideally, this number should stay above 80%. If it dips below 70%, it’s a sign your knowledge base needs more training data [6].
To keep improving, review your bot’s “Top Unanswered Questions” list weekly and add 2–3 new responses. This small, consistent effort can gradually boost your resolution rate without requiring a major overhaul [5][6].
Building a Simple ROI Model
The formula to calculate ROI is simple:
ROI = (Total Annual Value − Total Annual Investment) ÷ Total Annual Investment × 100% [9].
Here’s how the numbers break down:
- Total Annual Value includes cost savings (like reduced labor costs) and any revenue gains.
- Total Annual Investment accounts for the subscription fee, setup costs (amortized over time), and expenses for conversations that still require human involvement [9].
To get an accurate picture of savings, use your agent’s loaded labor cost - their salary plus benefits and overhead, which is typically 1.5× to 2× their base salary [9]. Many businesses find they break even within 1–3 months, thanks to cost savings alone [9][11].
The results can be impressive. For example, between late 2025 and early 2026, Lorri G., Customer Service & Technical Support Manager at ITW, implemented ChatSpark across two flagship product lines. Over four months, the AI managed 10,754 messages with a 98% resolution rate, captured 153 leads, and saved over 66 days of agent time. The total cost savings amounted to $47,880 on a $4,000 investment - a 1,097% ROI [7][8].
"ChatSpark has been managing two of our largest product lines over the past year. It currently handles an average of 1,831 chats per month without any human intervention. Since implementing it on our website, we've realized measurable savings of $119,225." - Lorri G., Customer Service & Technical Support Manager, ITW [7][8]
These kinds of results can pave the way for even greater efficiency as the system scales.
Scaling ChatSpark as Your Business Grows
As your chatbot evolves, its ROI tends to increase. Expanding your knowledge base to include new products, seasonal FAQs, or additional service areas can improve your Knowledge Coverage and deflect more tickets. When your monthly message volume approaches your plan’s limit, it’s a good indicator to upgrade. For instance, moving from Plus ($59/month) to Pro ($129/month) unlocks advanced features like deeper analytics, AI Actions, and GA4 integration for tracking chat events alongside broader website goals [1].
Pro and Enterprise plans offer even more. They allow integration with Google Analytics 4 to track events like chat starts, lead captures, and prompt clicks alongside site-wide KPIs. Enterprise users also benefit from monthly automated ROI reports that analyze over 15 metrics, including cost savings and lead generation trends, without requiring manual effort [5][7]. As your business expands to platforms like WhatsApp, Instagram, or Slack, the same knowledge base can support all channels, reducing per-channel costs while increasing coverage.
Conclusion: Next Steps for Adding ChatSpark to Your Website
Now that you've explored the planning, setup, and optimization steps, it's time to bring ChatSpark to life on your website. The process is quick - ChatSpark can go live in less than 10 minutes using a simple JavaScript snippet or the official WordPress plugin. No coding skills? No problem—it's designed for entrepreneurs and small business owners who need to scale quickly. To get the most out of your chatbot, start small and focused. For example, you could begin by addressing pricing FAQs or capturing leads on your most-visited page. Test this single use case, refine it, and then expand based on your results.
Your chatbot's performance hinges on the quality of your knowledge base. To ensure success, organize your training materials with clear headings and bullet points. Pull content from FAQs, product manuals, and essential website pages. Regular updates to your training documents are crucial for maintaining optimal performance. As John V. Akgul, Founder & CEO of PxlPeak, wisely noted:
"The resolution rate difference... is entirely driven by knowledge base quality and retrieval precision. Spend more time on your knowledge base than on your UI." [12]
For those just starting, the Basic plan at $19/month, which includes a 14-day free trial, is a great entry point. As your needs grow, you can scale up to the Plus plan ($59/month) or the Pro plan ($129/month), which offer advanced features to handle higher message volumes and elevate your customer support.
To get started, set up your agent, train it with your most valuable content, embed it on your site, and use the data it generates to fine-tune its performance. This streamlined approach not only boosts support efficiency but also helps convert visitors into customers by keeping them engaged throughout their journey.
FAQs
How do I know my site is ready for a chatbot?
If your website deals with frequent, repetitive support tasks, it might be time to consider a chatbot. Start by reviewing 3–6 months of support data to identify common questions - things like order tracking, returns, or shipping inquiries. If your team is spending a lot of time on these types of tasks and you already have resources like FAQs or policy documents, a tool like ChatSpark can help you streamline your support process with minimal setup.
What content should I train the chatbot on first?
To get quick results, begin by training your chatbot using your FAQ page and the most frequently asked customer support questions. Dive into past support tickets and emails to spot recurring issues. Once you’ve nailed down these essentials, add details like product guides, pricing information, and return policies. Focusing on these areas ensures your chatbot can tackle routine questions effectively, boosting resolution rates and keeping customers more engaged right from the start.
When should I upgrade from Basic to Pro?
If your business is outgrowing the Basic plan, it might be time to switch to the Pro plan. This is ideal for managing over 1,000 inquiries per month, working with more than 25 pages of training data, or using your chatbot across multiple platforms like WhatsApp or Slack.
The Pro plan also offers extra perks: you can remove ChatSpark branding for a cleaner, more professional look and take advantage of AI Actions to automate tasks such as scheduling appointments or tracking order statuses.